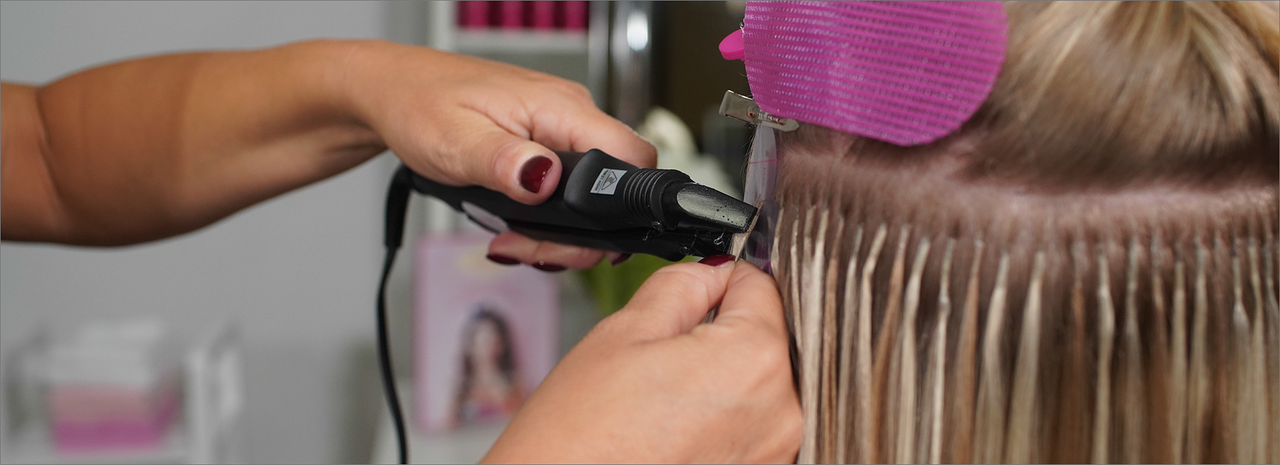
Curly hair and straight hair are pretty different, as are the tactics that we use to cut and style them. The same thing is true of curly and straight hair extension installations. Though the principles of the extension method you’re using will remain the same from one installation to another (I-Tip sections should look the same on a curly head and a straight head), the installation experience can vary greatly, and curly hair extension installations might even call for some extra steps. Here, we’ve compiled some tips to help you perfect those curly installations where the client’s curls start from the root of their hair, rather than farther down along the hair shaft.
A preliminary note:
We recommend that you install extensions that complement the hairstyle that your client wears on any given day. This may not necessarily correspond with their natural hair texture. If your naturally curly client straightens their hair every single day, you should pair them with straight hair extensions, and consider relaxing their hair 48-72 hours prior to their installation appointment. The same thing goes for straight-haired clients. If they are constantly curling their hair, ask them if they’d be open to a perm followed by curly hair extensions 2 or more days later. We want to give our clients the hair of their dreams, but we also want to discourage rampant heat tool use on hair extensions, when possible.
Tip #1: Always install on dry hair.
Unlike a haircut, an installation should never be performed on wet hair. You know that, we know that, everyone knows that—but it’s worth repeating, because sometimes instinct can get the better of us. If you are a stylist who automatically goes for the spritzer when there’s a curly-haired person in your seat, keep in mind that you’re performing an installation, not a haircut. The whole point of the hair extension process is to fuse, glue, or crimp the bond directly to the hair, and water, oil, dirt, or anything else standing in the way will compromise the hold. You can consider revisiting your spray bottle during the blending part of the installation, if needed.
Tip #2: Don’t straighten the hair.
Your next instinct might be to straighten the hair for an easy-to-manage canvas. This isn’t a complete no-no, just like conditioning the midshaft-to-ends of the hair for manageability is not a complete no-no. But, you’d have to straighten the hair without using a heat protectant, which is unadvisable. Furthermore, if you’re installing curly extensions onto the straightened hair, you’ll have to re-curl the hair at the end of the appointment to display the final look. That’s a lot of unnecessary damage being done to the innocent locks! If you absolutely can’t get by without a smooth and uniform canvas to work on, only straighten the hair around the roots—preferably no more than 2 inches.
Tip #3: Line up the extension curl with the natural curl.
One benefit of not straightening the hair (aside from avoiding all that damage) is that you’ll be able to place the curly extensions strategically within the natural curls. Your bond should be situated at the first loop or curl by the root of the hair, and the bend of the extension strand should line up with the bend of the natural hair by the bond. This will make for the most natural-looking, seamless installation.
Tip #4: Modify your blending technique to suit your client’s texture.
First things first: don’t use a razor or thinning shears on curly hair. The jagged lines produced by these tools will fray and feather the hair, resulting in a frizzy look. Instead, point cut the hair for smooth, natural-looking ends.
- When establishing length
Always err on the side of caution when cutting curly hair (be it natural hair or extension hair). Since the curl pattern causes the hair to shrink, cutting too much into the hair will reduce the final length by more than it would straight hair.
- When framing the face & connecting the layers
If your client doesn’t ever straighten their hair*, tackle this step by staggering the layers rather than blending them seamlessly together. Remember, curls don’t lay flat like a smooth and unified waterfall—they separate into distinct strands like a series of vines. So try working curl-by-curl to cut the appropriate number of steps into the hair for a natural look.
*Note: if the client does intend to straighten their hair on occasion, you may consider straightening the hair for this portion of the installation. Otherwise, gently comb the hair to unravel individual curls, then tug the hair section straight before cutting into it.
- When polishing and personalizing
Take your time! Address each curl individually, and make sure that there are no glaring gaps or “shelves” in the hair. Employ your best curly-haircut techniques!
Have you ever installed extensions in curly hair before? Share your expert tips in the comments below!

