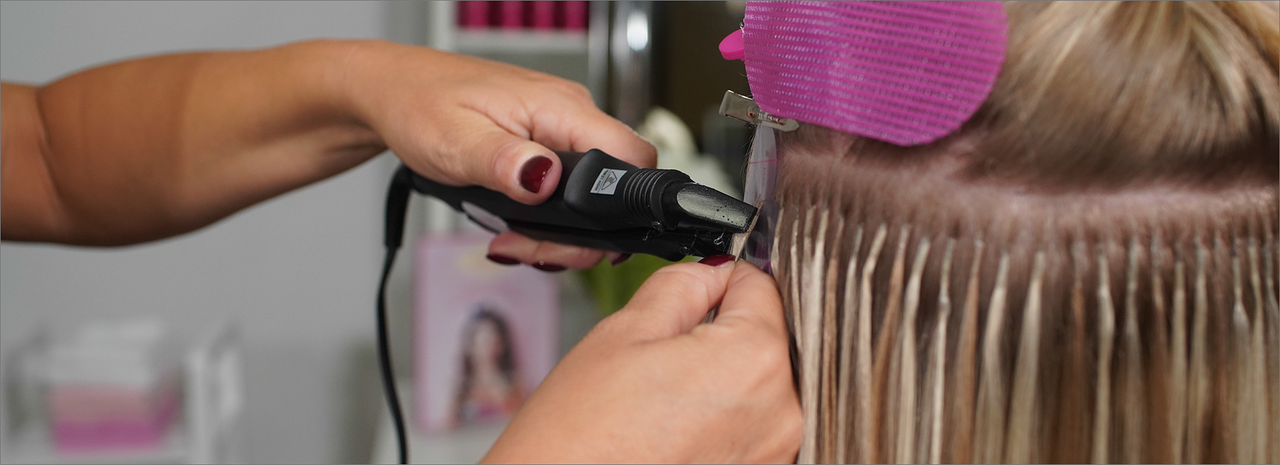
Tape-in extensions are one of the most revolutionary developments in the hair extension industry. Clients and stylists alike love the fast, seamless installation and easy maintenance. In fact, Babe Tape-In Extensions are one of our best-selling methods and feature one of our most extensive shade selections!
We often are asked how to remove tape-in extensions when it's time to move to a new set. Read on for our guide on removing tape-in extensions packed with tips from seasoned stylists.
Tape-In Removal: Step by Step
- Start at the nape of the neck and section out the lowest (bottom row) of the Tape-Ins, exposing the wefts.
- Apply Babe Tape-In Bond Remover to the adhesive bonds, and wait for a few seconds.
- Once the Tape-In Bond Remover has soaked into the weft, gently pull the adhesive strips apart and slide them out of the hair.
- Repeat the steps above, working up the back of the head and sides until every weft is removed.
- After the removal, wash any lingering residue out of the client’s hair.
Lucy Seitz (@lucy_seitz), a professional stylist boasting 1.4 million TikTok followers, described how she removes Babe Tape-In Hair Extensions: “When it’s time to remove the Tape-Ins, simply apply the Tape-In Bond Remover to the adhesive. Gently pull apart the adhesive strips and slide them out of the hair. Once they’re all out, you can wash out any residue that’s left behind with a clarifying shampoo.”
How to Maintain Tape-In Extensions
With just a little extra TLC, clients can really make these extensions last, maximizing the life and length of their hair transformation. Here are some essential tips to keep in mind:
- Make sure clients don’t wash or wet the adhesives on their extensions for 24 to 48 hours after the installation. (While the adhesives are medical grade, this kind of interference can weaken their initial adhesion and cause them to slip out later.)
- Encourage clients to schedule touch-ups on their extensions every 3 to 6 weeks.
- Clients can re-use their Tape-Ins 1 to 2 times, depending on the wear. To reuse a Tape-In, simply apply Tape-In Bond Remover to clean off the adhesive residue and remove the wefts. Then, using Babe Replacement Tape, organize each extension strand upon removal so that each strand can be reattached in the same position as before. This will prevent you from having to re-blend the extensions. Thoroughly wash out the bond remover, ensuring that it’s completely removed before re-installing. Clarify the client’s hair as appropriate.
- Make sure to remind clients to only use sulfate-free shampoos and conditioners.
Check out this tape-in extension removal by Babe Hair National Educator @extendedstyles:
@babehair Tape-In extension removal made easy with Babe Hair National Educator @extendedstyles 💗 Her client wore the Tape-Ins for 8 weeks & starting with the Express Tape-In Remover allowed her to not have to clarify or dry the extensions! Tip✨ Using paper towels helps keep your fingers mess free & spraying the Original Tape-In Remover in the natural hair allows the residue to break down and slide from the hair. Courtney loves to use a fine tooth comb or lice comb to get all the residue out! ✨ Leave any removal questions you have in the comments!⬇️ . . . #tapein #tapeinremoval #extensionsremoval ♬ original sound - Babe Hair Extensions
“An ounce of prevention equals a pound of cure,” is the adage to remember here, and it's one that many clients will connect with. Remember that hair appointments are not only great opportunities to connect with clients but a chance to educate them as well.

